 |
| Kindra mists the clay slip prior to applying the line plaster. |
 |
| Jamie and Kindra start the lime at the NE corner. |
 |
| East wall with first layer of plaster. |
 |
| a long way to go |

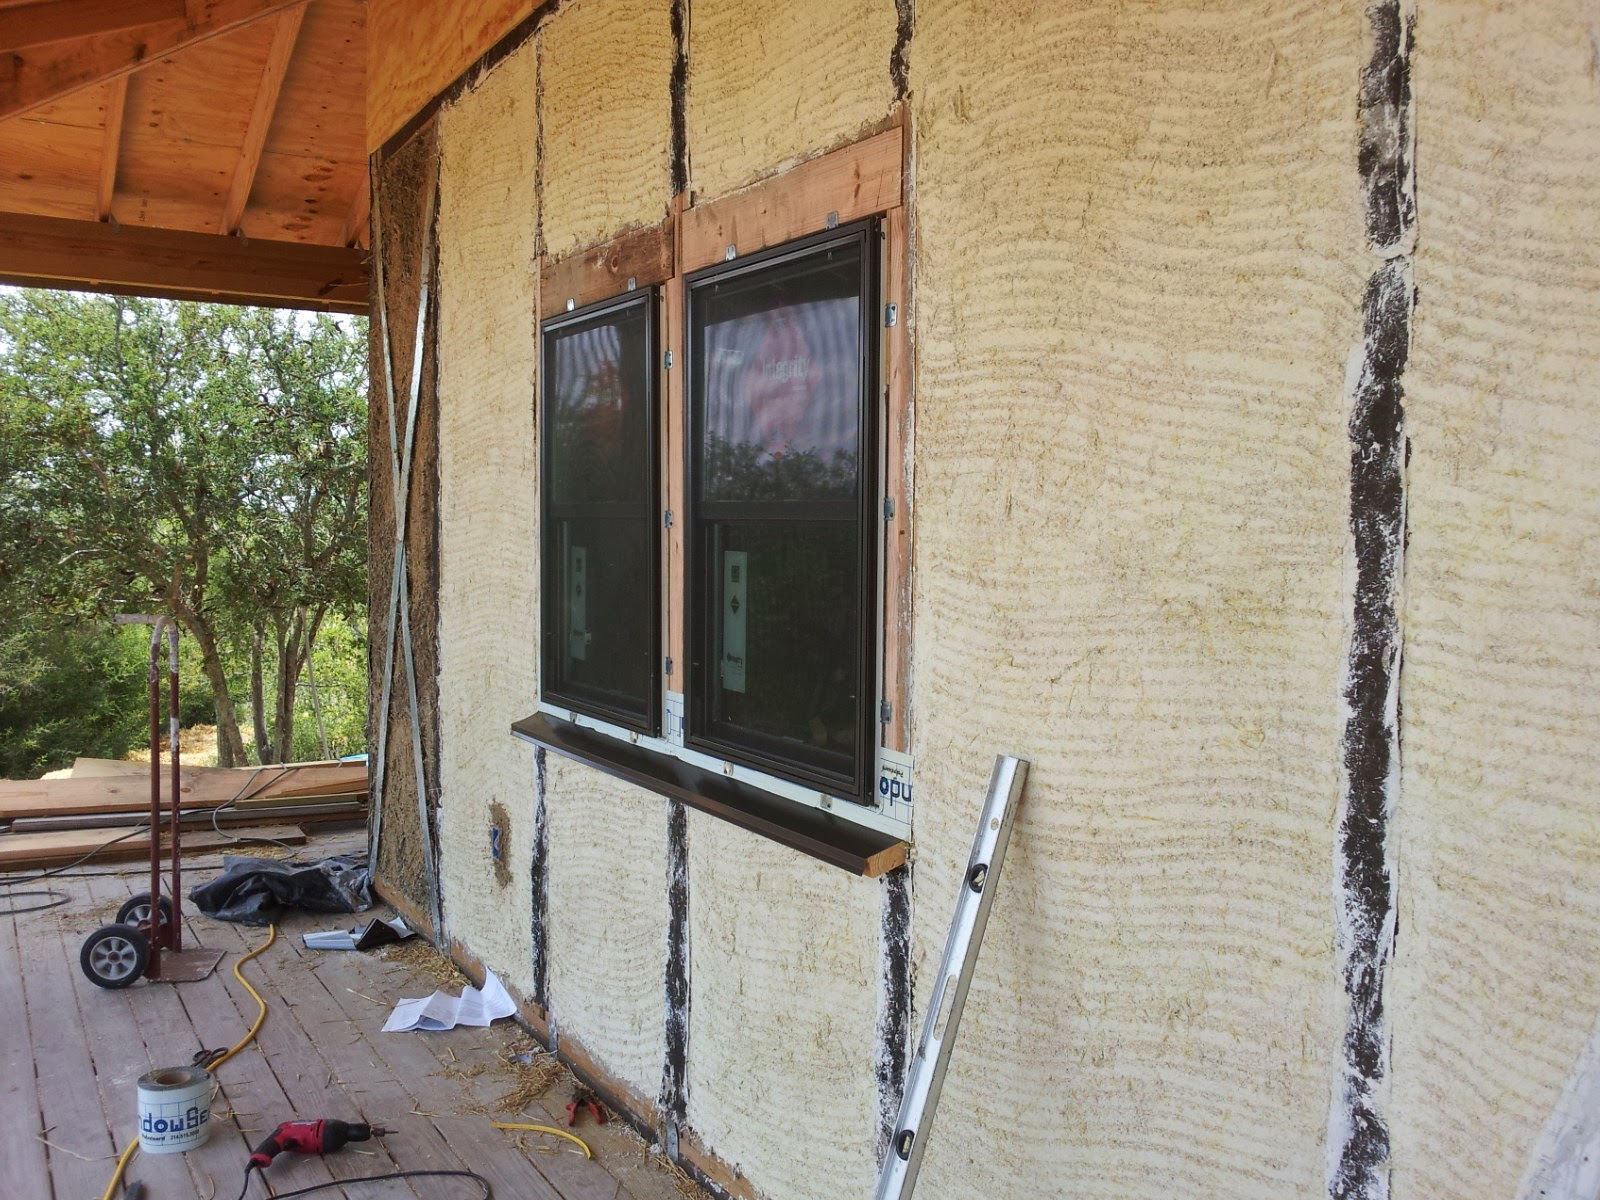 |
| The first windows are installed |
 |
| While Clay/Sand/Straw crew is working outside, the electrician installed wiring and boxes. |
 |
| Switch boxes and receptacles were fixed with stakes and then cobbed in place. |
 |
| power to ceiling |
 |
| The interior continues to have the clay slip applied. The push was to get the outside covered with lime ASAP |
 |
| This is a good example of the wires and boxes being fixed in place with the clay slip. |


 |
| The plaster continues on the outside. The whole crew applying plaster, including my sister Carolyn! |
 |
| Virgina, Kindra, Connie, Kate and Carolyn. I bet Jamie is mixing plaster! |
 |
| Jamie and Virginia, plastering the NW wall. |
 |
| Johnny and Jamison installing windows, Kate and Connie plastering the south side. |
 |
| North wall of living room plastered with windows installed. |
 |
| Tutorial on installing 17 ga. stucco mesh between 1st and 2nd layers of lime plaster. Because my house is in a wind storm area near the Gulf the mesh is part of the structural package. |

 |
| 4" overlap at all vertical joins. |


 |
| Connie attaching mesh. |


